
Generating a QR code for your organization assets allows you to quickly and efficiently track and manage assets. Each QR code uniquely identifies an asset and can be scanned to retrieve detailed information such as the asset's name, model, assigned user, and maintenance history. This streamlines asset management processes, ensuring accurate record-keeping, and easier updates to asset information.
Generate QR Code for assets using below methods.
1. Generate QR code for each Item
Step1: Go to each Item on boards. Click on Click me button under the QR Code Generation column.
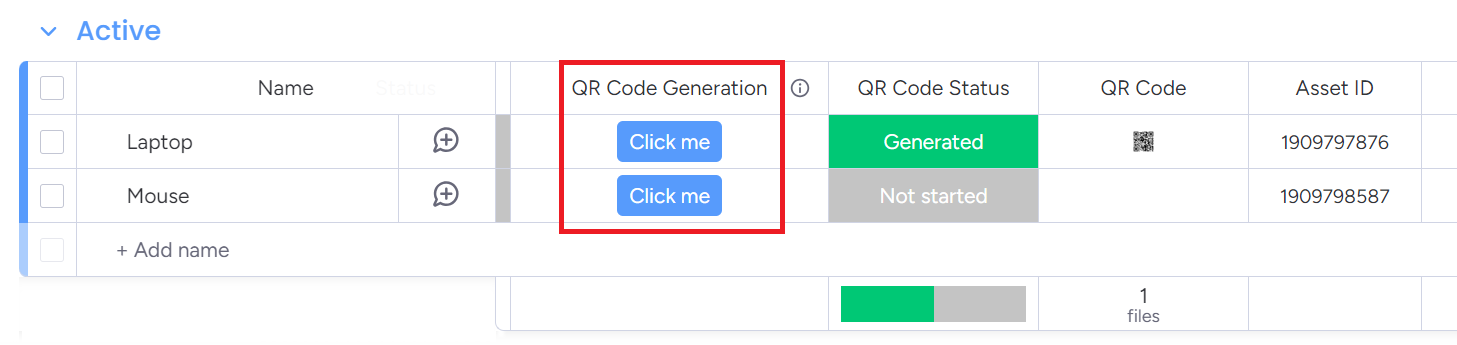
A QR code will be generated and reflected in the QR Code column.
2. Generate QR code in bulk
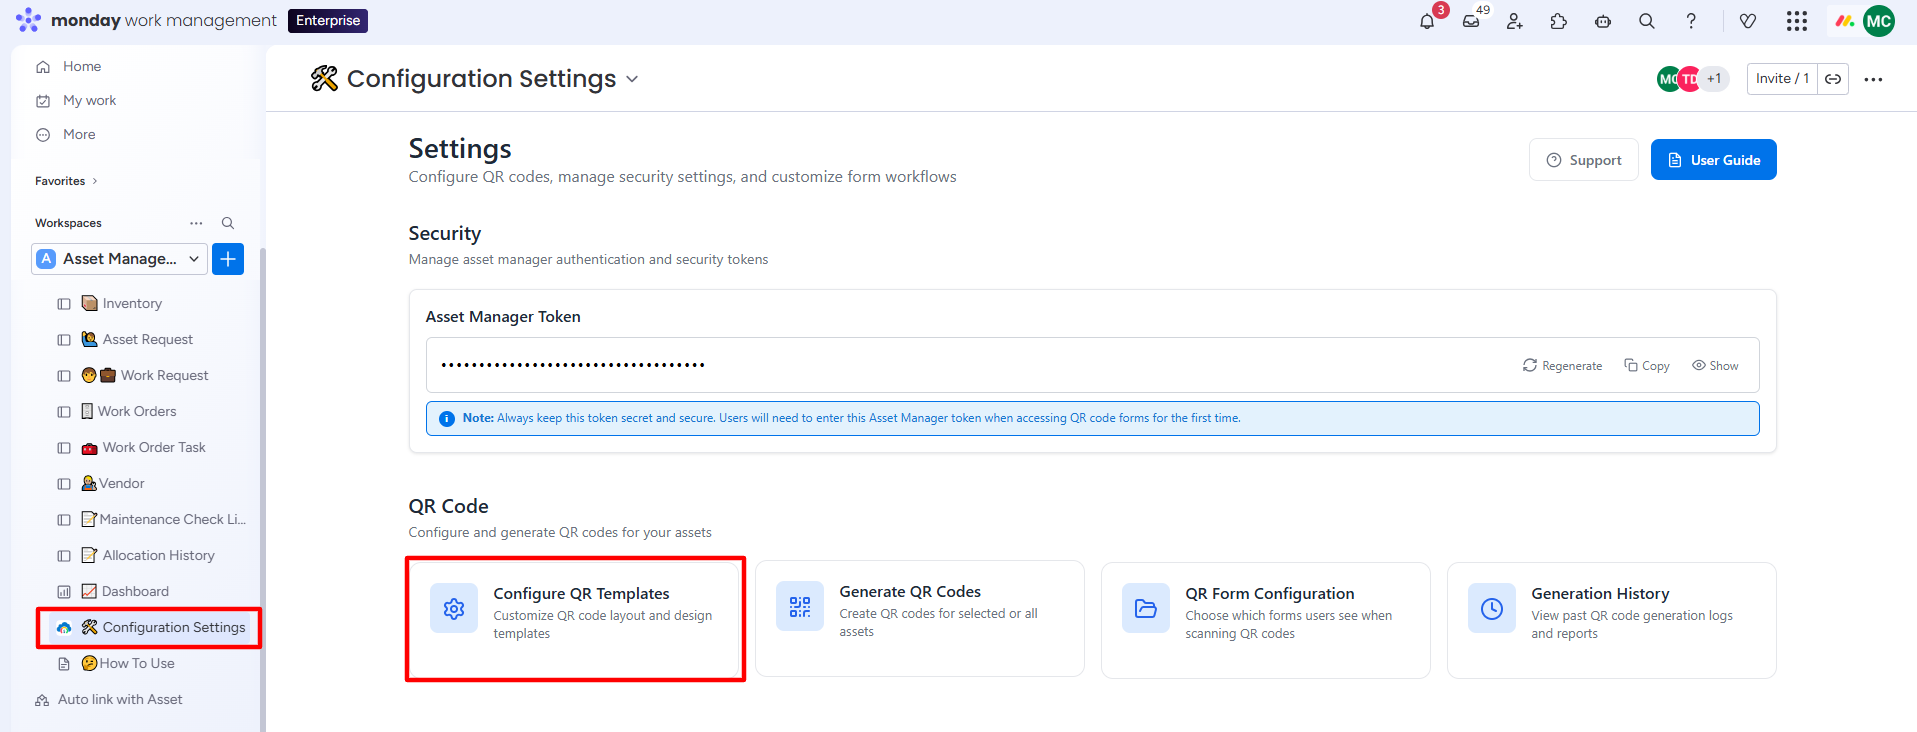
Step 1: Go to Configuration Settings. Click on Generate QR Code tab.
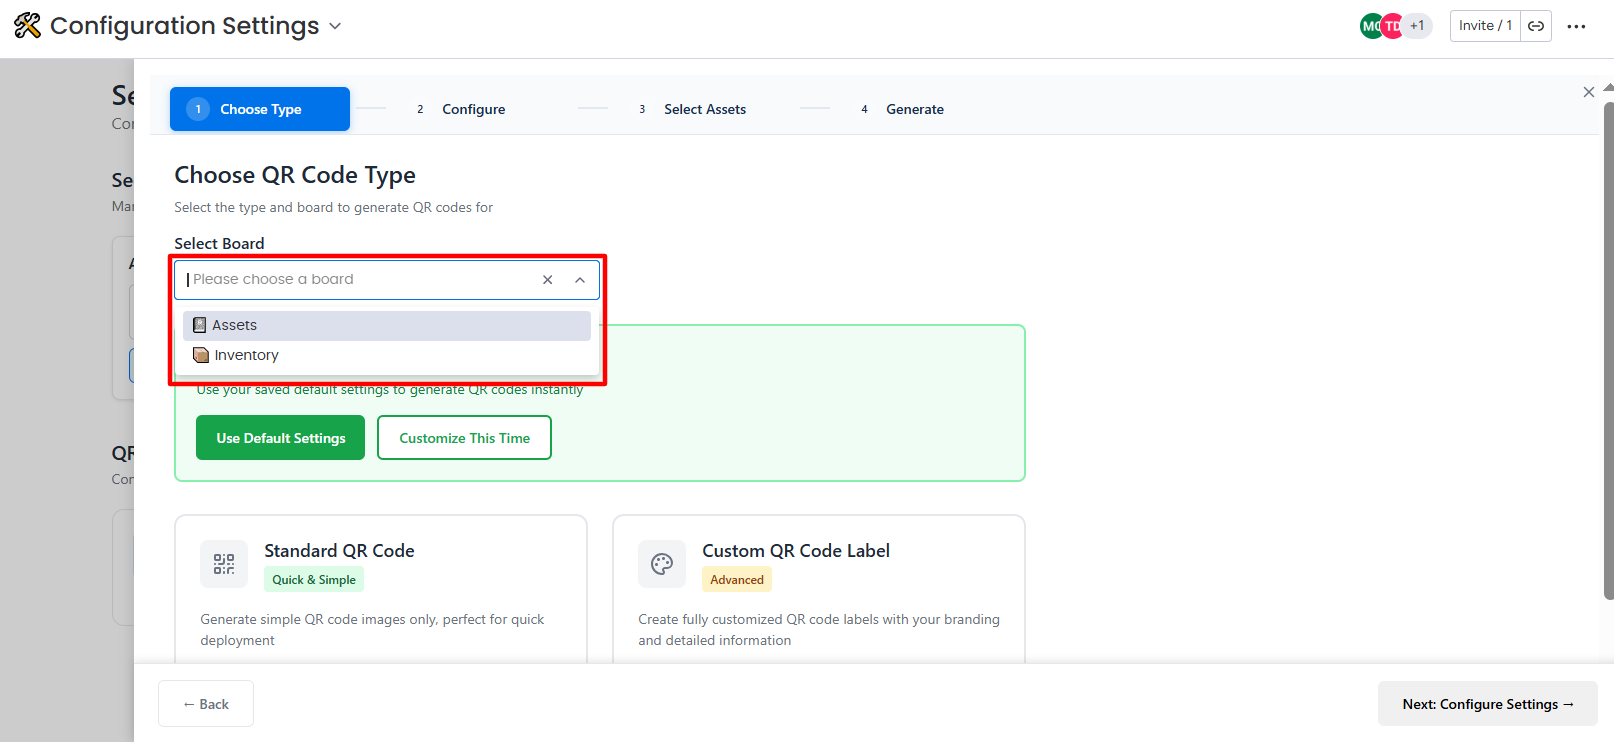
Step 2: Select the Board from dropdown.
-
Select the Assets board to generate a QR Code for Physical assets.
-
Select the Inventory board to generate a QR Code for Inventories.
Select Quick Start options if required.
-
Select the Use Default Settings option to start with Select Assets process.
-
Select the Customize This Time to reconfigure the default QR code layout.
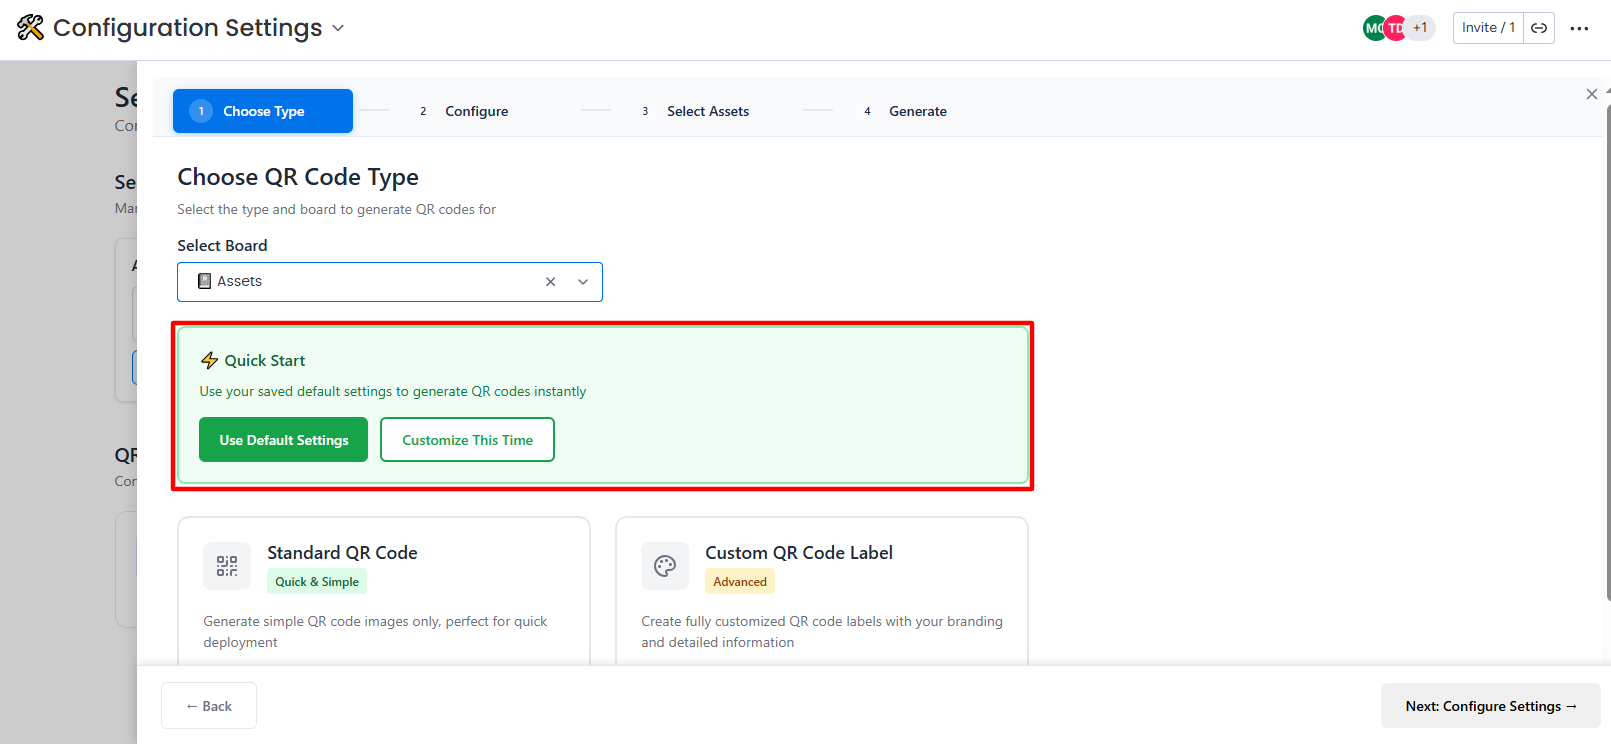
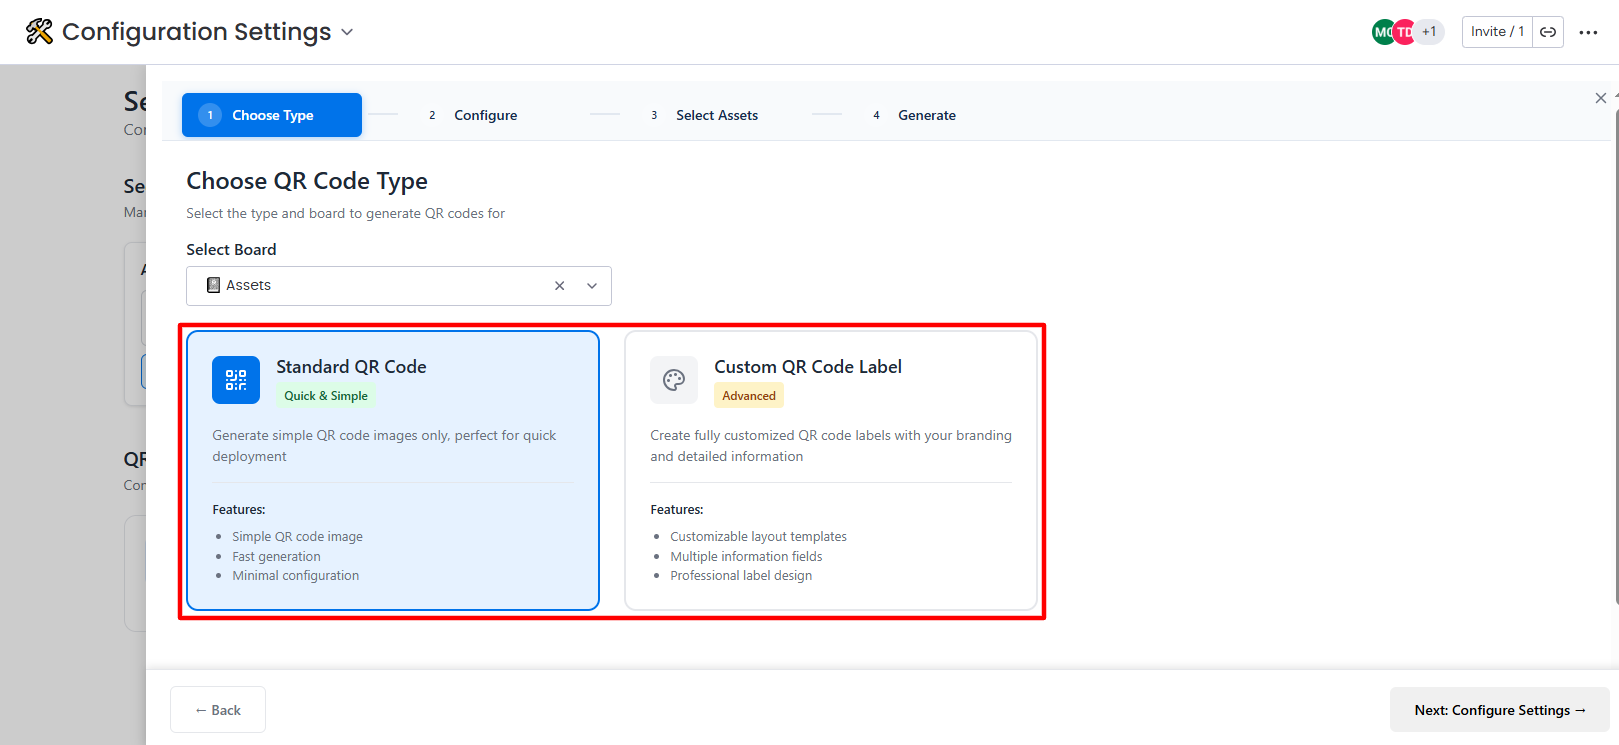
Step 3: Select the QR code type.
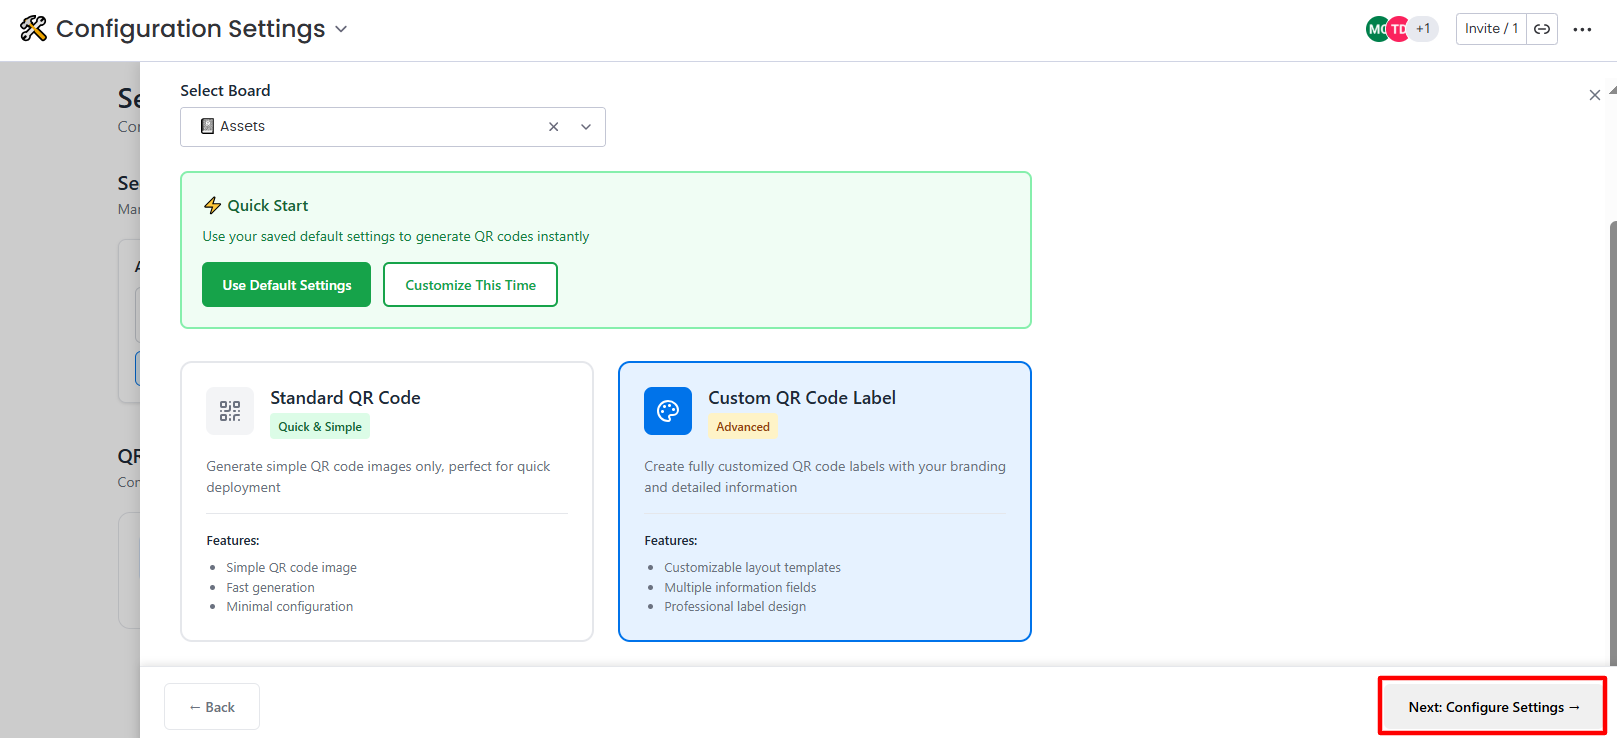
Step 4: Click on the Next button.
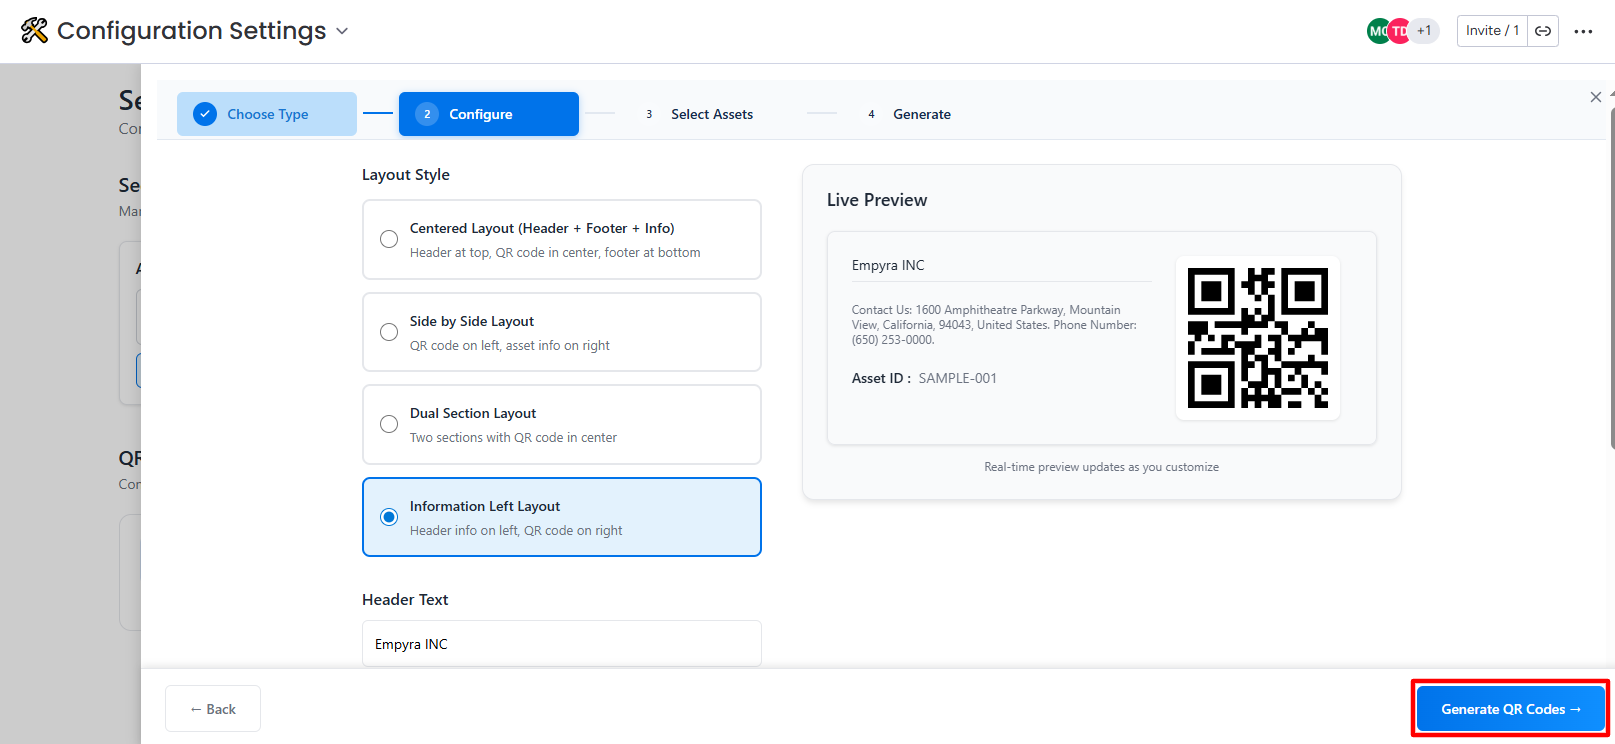
Step 5: Reconfigure the QR layout and field information if required, or click on the Generate QR Codes button.
Step 6: Choose the assets to generate QR codes.
-
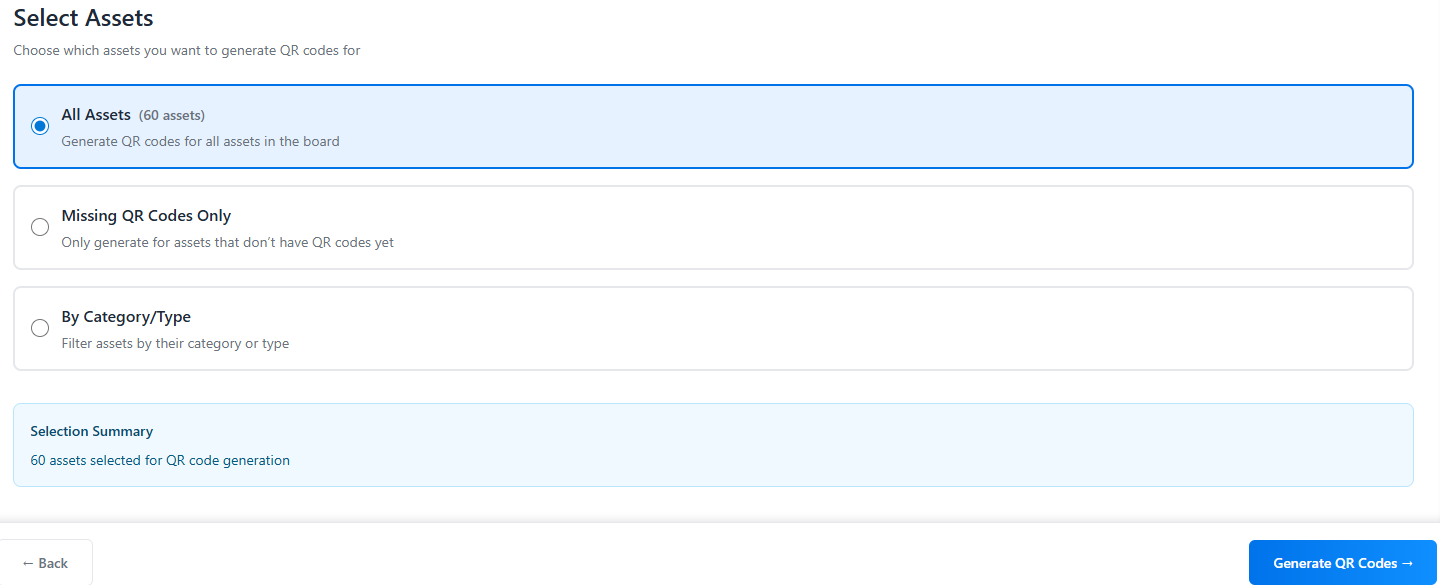
All Assets: If you select this option, QR codes will be generated for all the assets.
Use this option only when generating QR codes for your assets for the first time. Selecting this will replace any existing QR codes with newly generated ones.
-
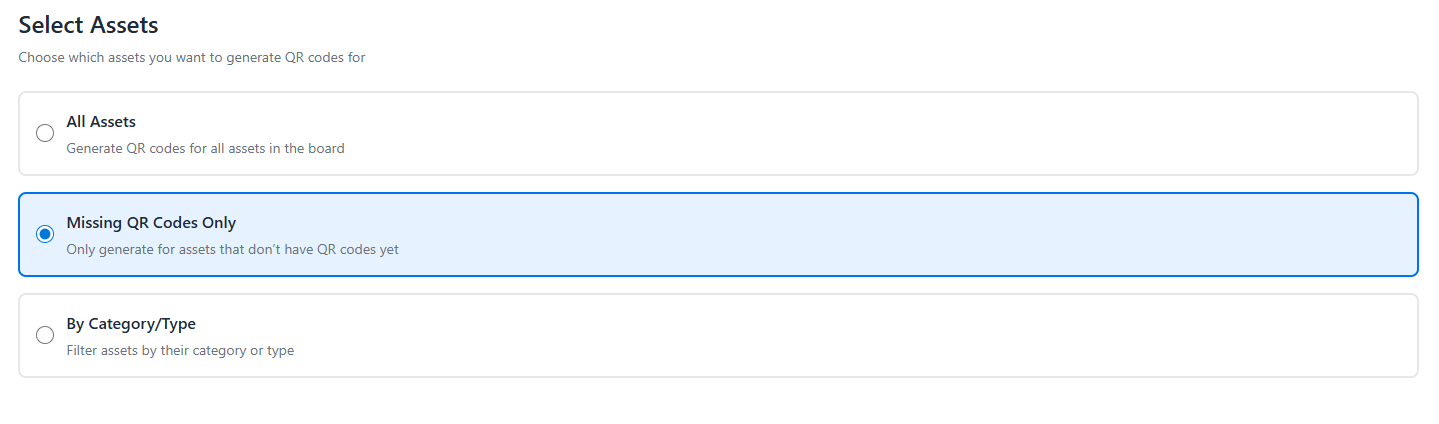
Missing QR Codes Only: If you select this option, QR codes will be generated for the assets that don’t have a QR code.
-
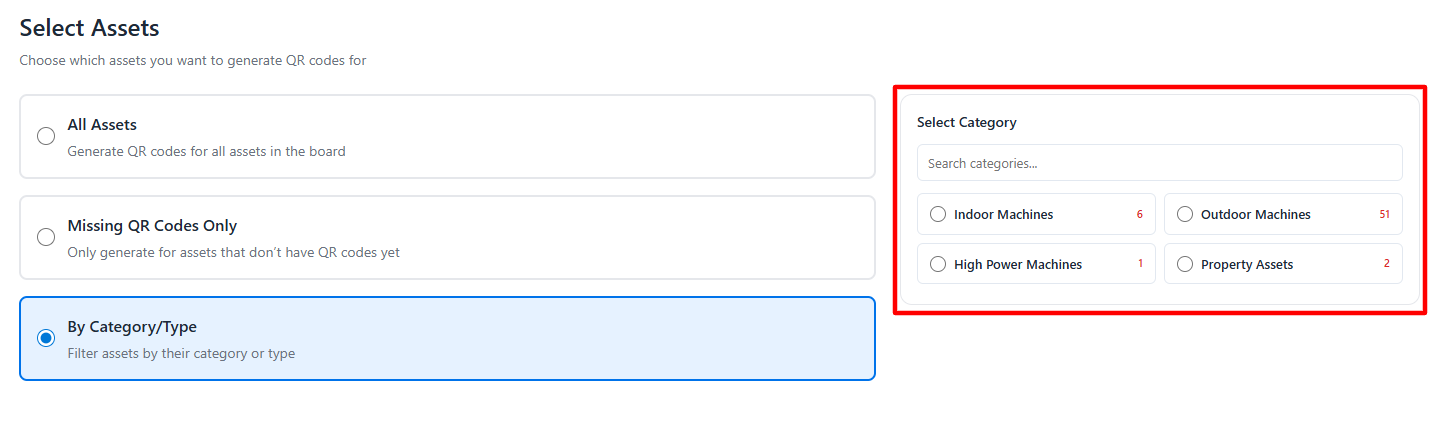
By Category/Type: Choose this option to generate the QR by asset type. Select the asset category to proceed with the QR code generation process.
Step 7: Click on the Generate QR Codes button.
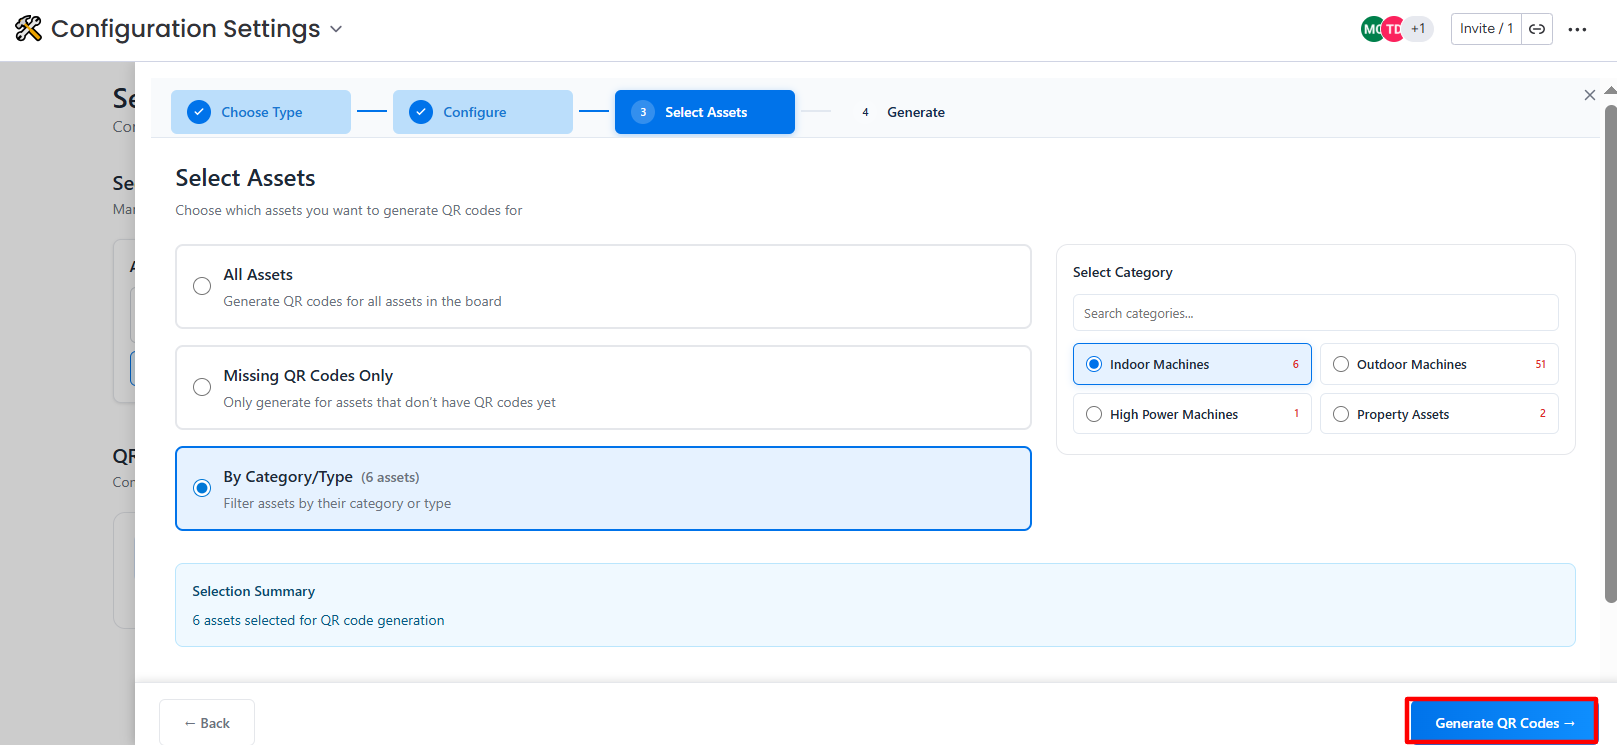
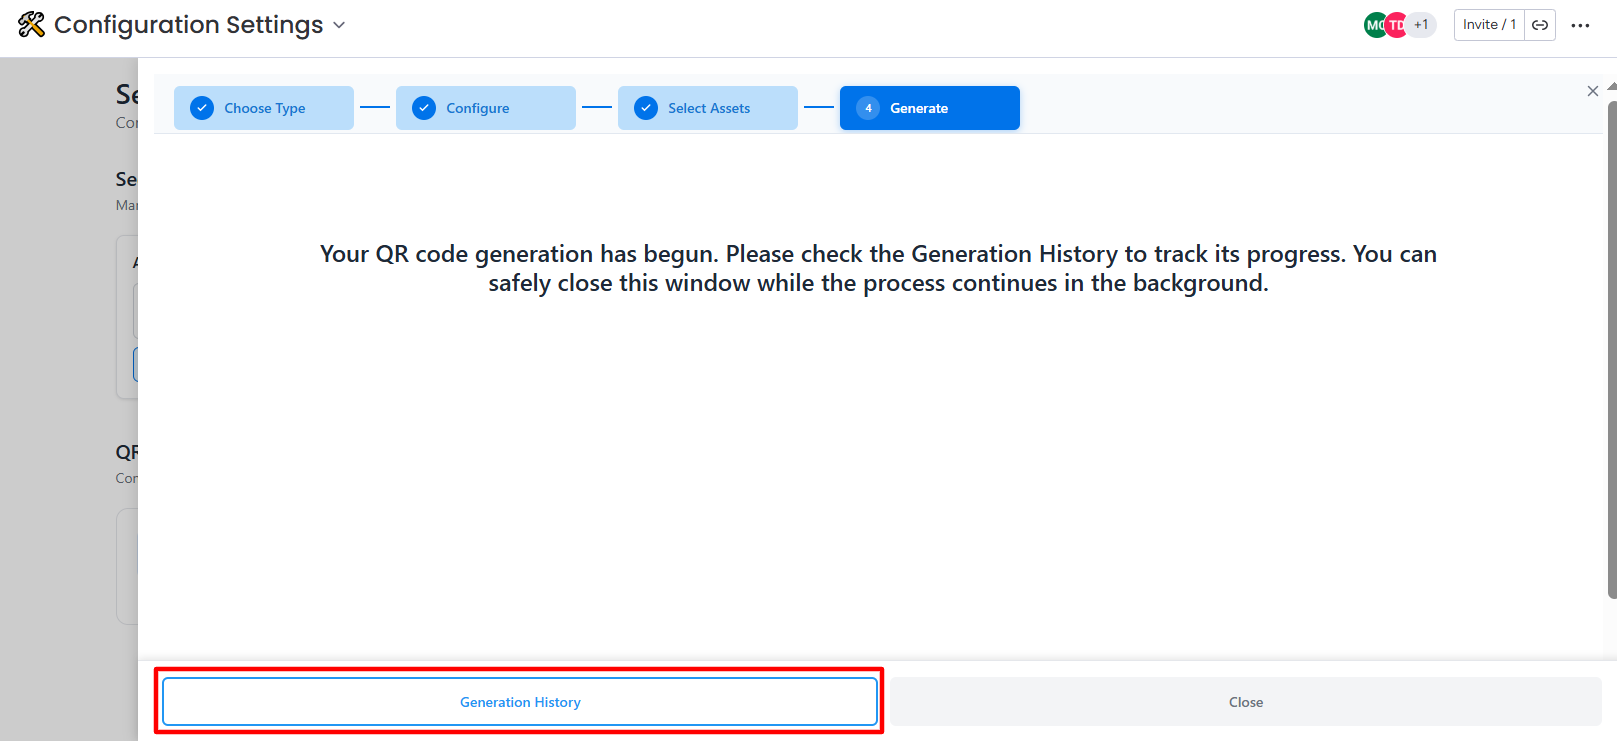
The QR Code Generation process will begin.
Step 8: Click on the Generation History button to check the details of QR Code generation.