

Recipes are automation rules that enable the seamless integration between ServiceNow and monday.com. By configuring these recipes, you ensure that monday.com responds to changes in ServiceNow automatically, streamlining workflows and improving productivity.
Users should configure below recipes to add automation rules to the monday board.
Recipe 1: Create a ServiceNow Work Item from a monday.com Item
This recipe automatically creates a selected ServiceNow work item (such as an Incident, Task, or other supported record type) whenever a new item is created on your monday.com board. It helps ensure that newly created monday.com items are instantly reflected in ServiceNow for seamless tracking and collaboration.
Recipe 2: Update a ServiceNow record when an Item Is Updated on monday.com
Use this recipe to keep your ServiceNow incidents synchronized with updates made on monday.com. Whenever a monday.com item is modified, the corresponding incident in ServiceNow is automatically updated to reflect the latest changes.
Recipe 3: Sync Comments Between monday.com and ServiceNow
This recipe ensures communication consistency across both platforms. When a comment is added or updated on a monday.com item, the same comment is created or updated in the linked ServiceNow record, maintaining a single thread of context between systems.
Recipe 4: Update the ServiceNow Record Name When the monday.com Item Name Changes
Keep your records consistent with this recipe. When the name (or title) of an item is updated on monday.com, the corresponding record name in ServiceNow is automatically updated to match, ensuring naming alignment across platforms.
Recipe 5: Sync Attachments from monday.com to ServiceNow
This recipe automatically uploads attachments added to monday.com items to the corresponding ServiceNow record. It helps teams maintain a unified view of all related files and documentation in both systems.
Recipe 6: Conditional Sync Between monday.com and ServiceNow
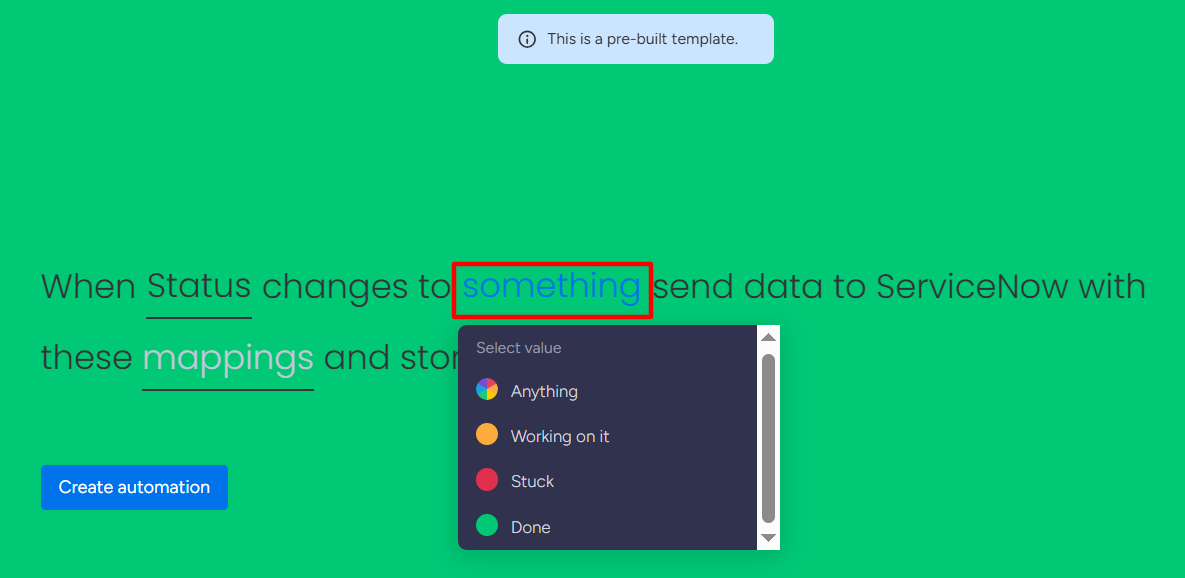
Use this recipe to apply specific conditions for syncing work items. For example, instead of syncing all monday.com items, you can set a rule to sync only when a particular condition is met, such as when an item’s status changes to Working on it. This allows for more controlled and relevant data synchronization between the platforms.
Make sure your ServiceNow account is up and active before adding recipes.
Follow the steps below to add recipes to your monday board.
Step 1: Go to the ServiceNow Connector workspace.
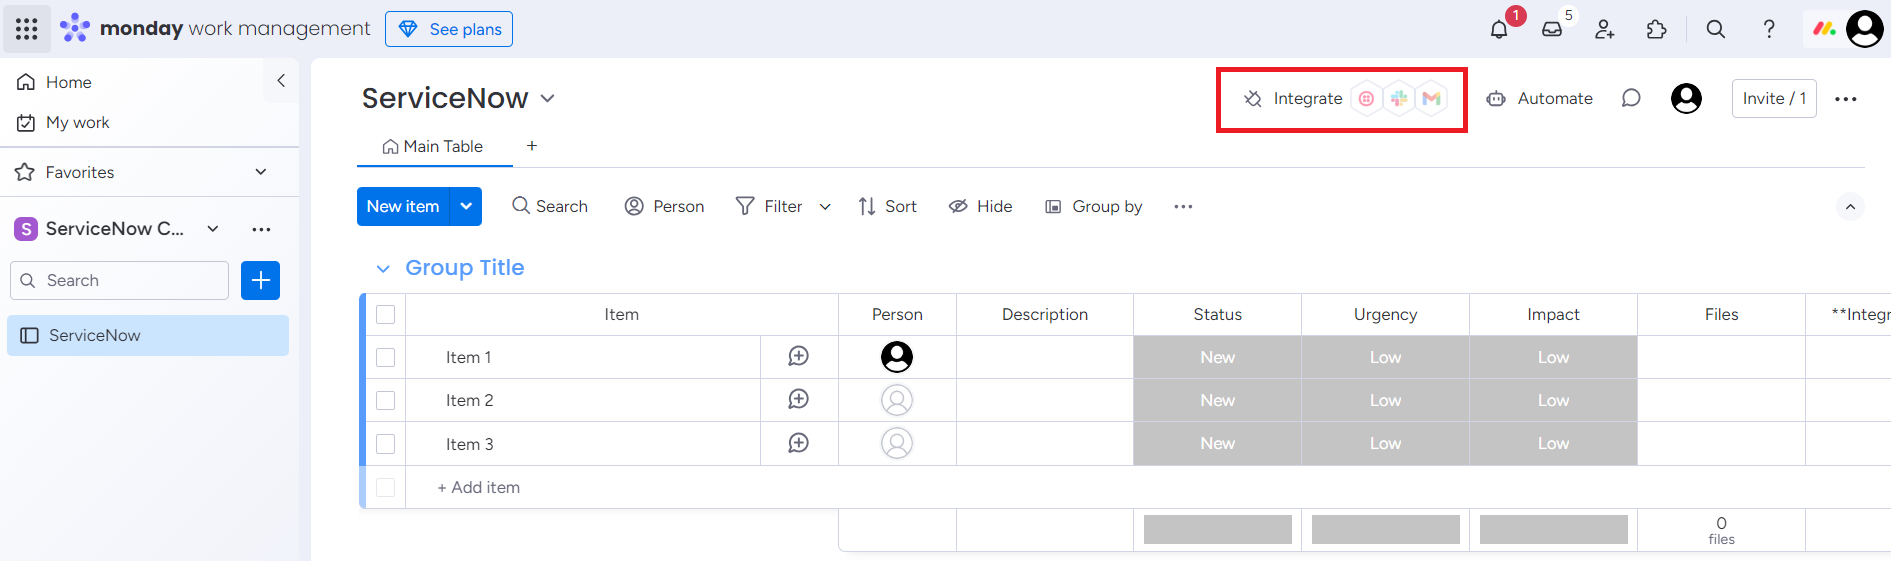
Step 2: Click on Integrate.
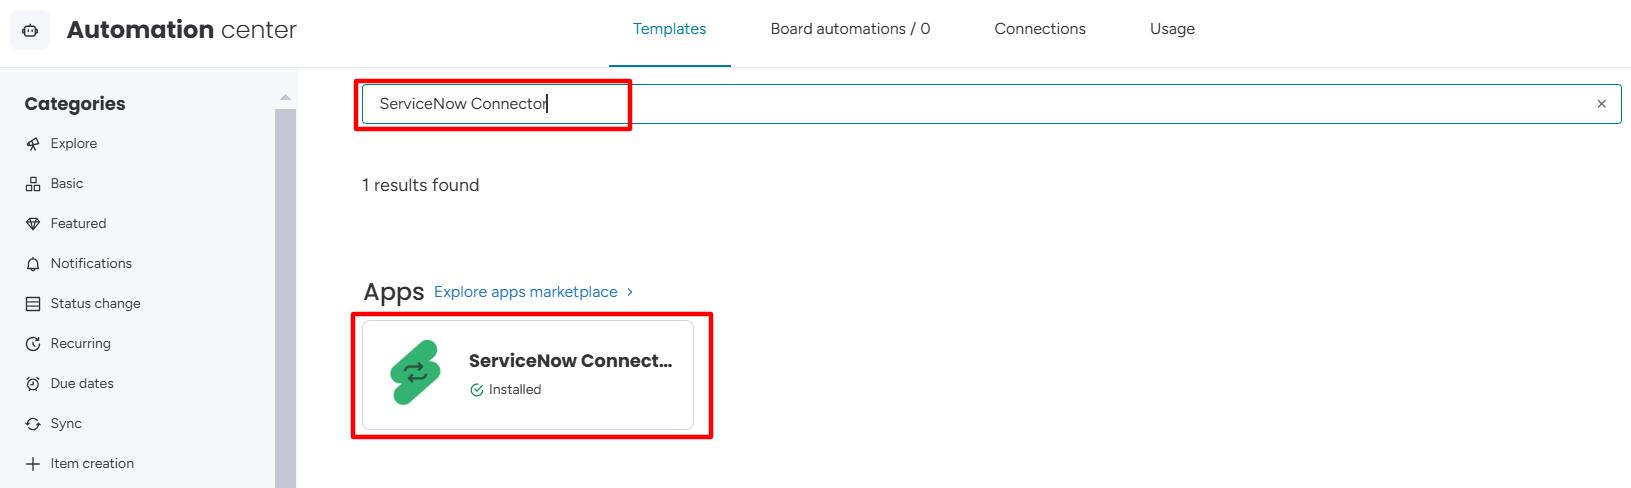
Step 3: Search for the ServiceNow Connector app and click on the app.
Step 4: Before adding the recipe, you have to connect your ServiceNow account to the monday account.
-
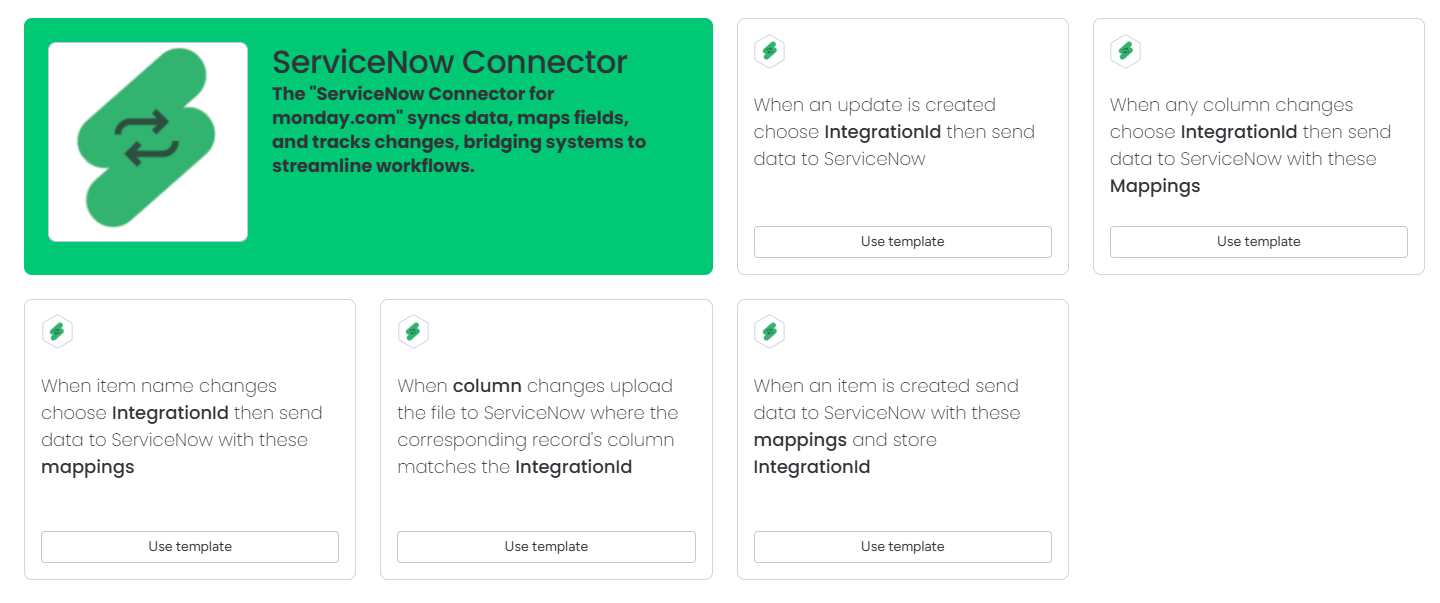
Select any recipe and click on Use template.
-
Click on Integrate with your account.
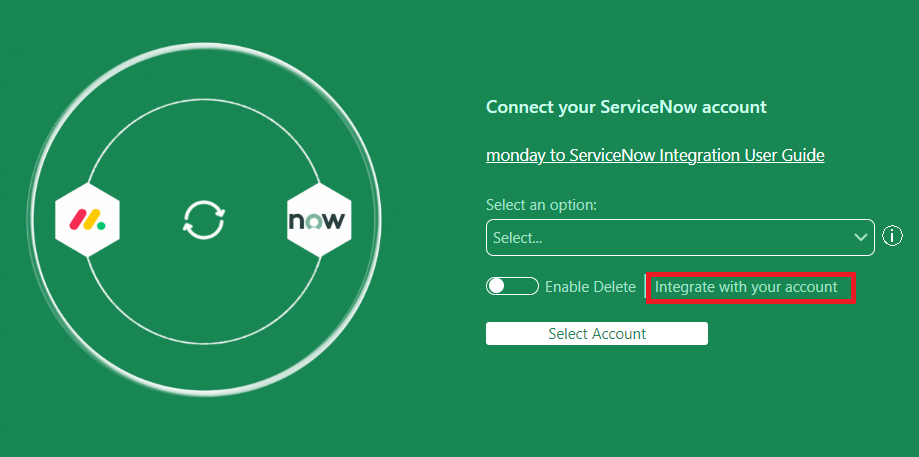
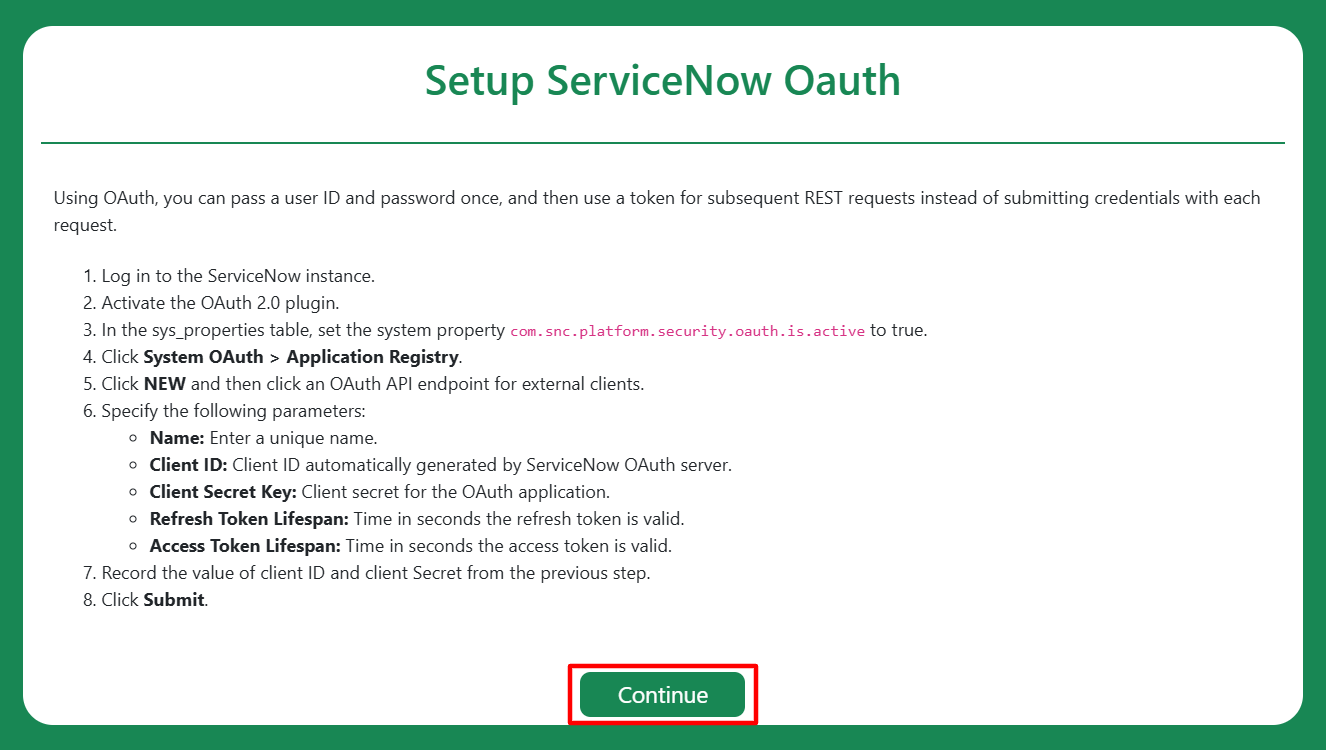
Setup ServiceNow Oauth window will appear.
-
Click on Continue.
-
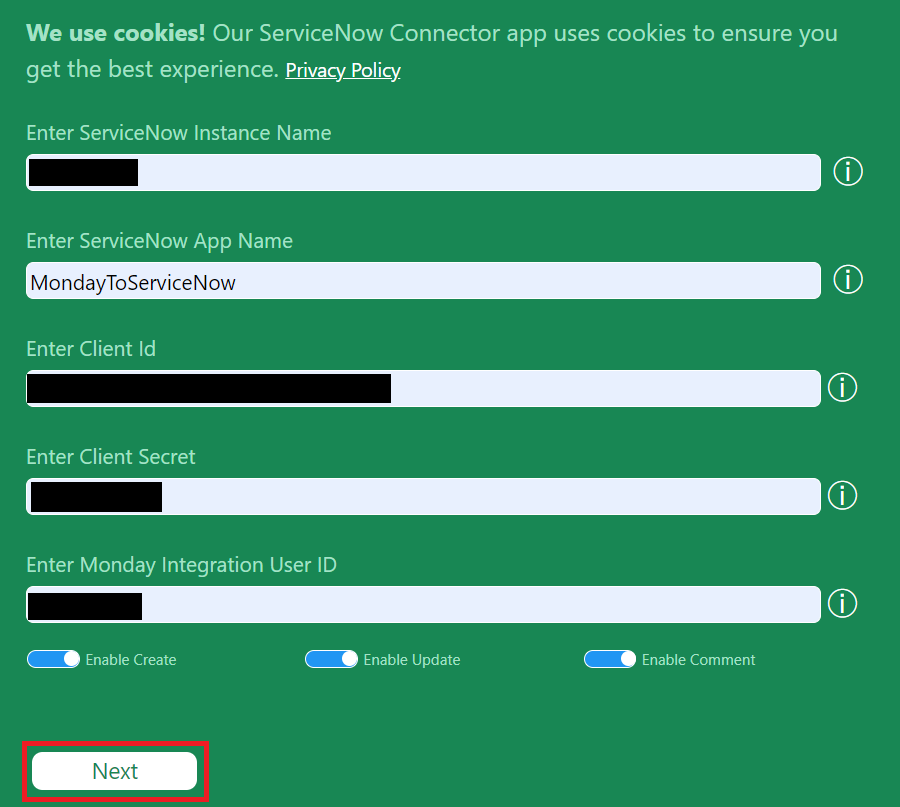
Enter the details below and click on Next.
-
Enter ServiceNow Instance Name.
-
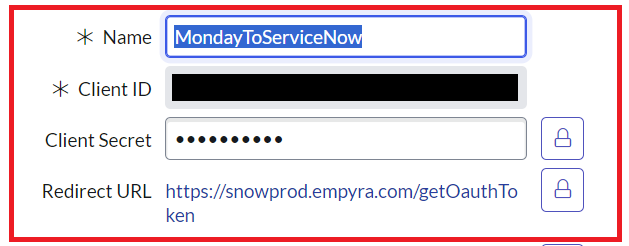
Enter ServiceNow App Name.
Enter the same name you used during the Application Registry in your ServiceNow app.
-
Enter Client Id.
-
Enter Client Secret.
-
Enter monday Integration User Id.
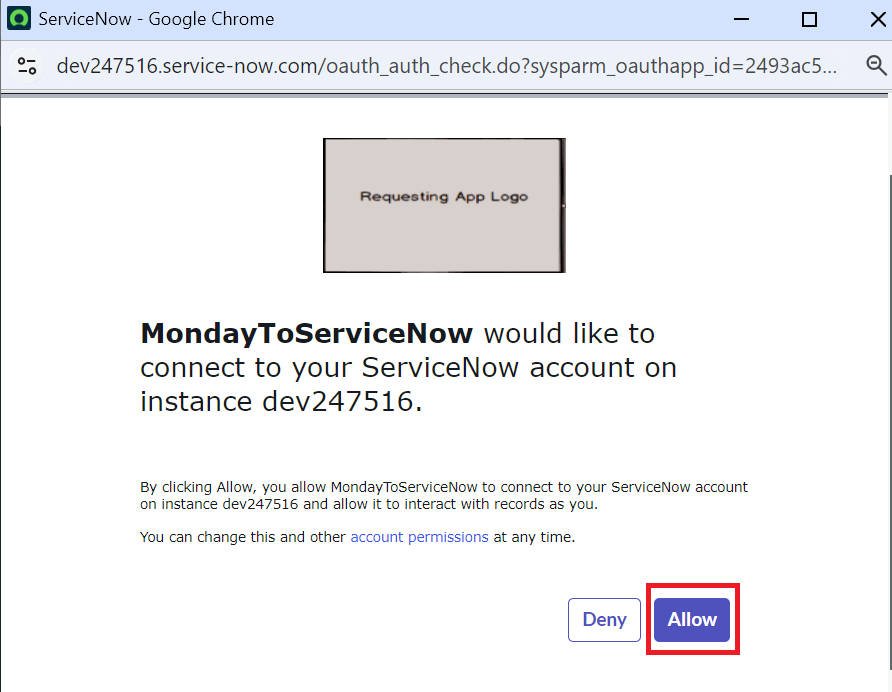
A pop-up window will appear from the ServiceNow app to approve the request.
-
Click on Allow.
Authentication successful message will appear.
-
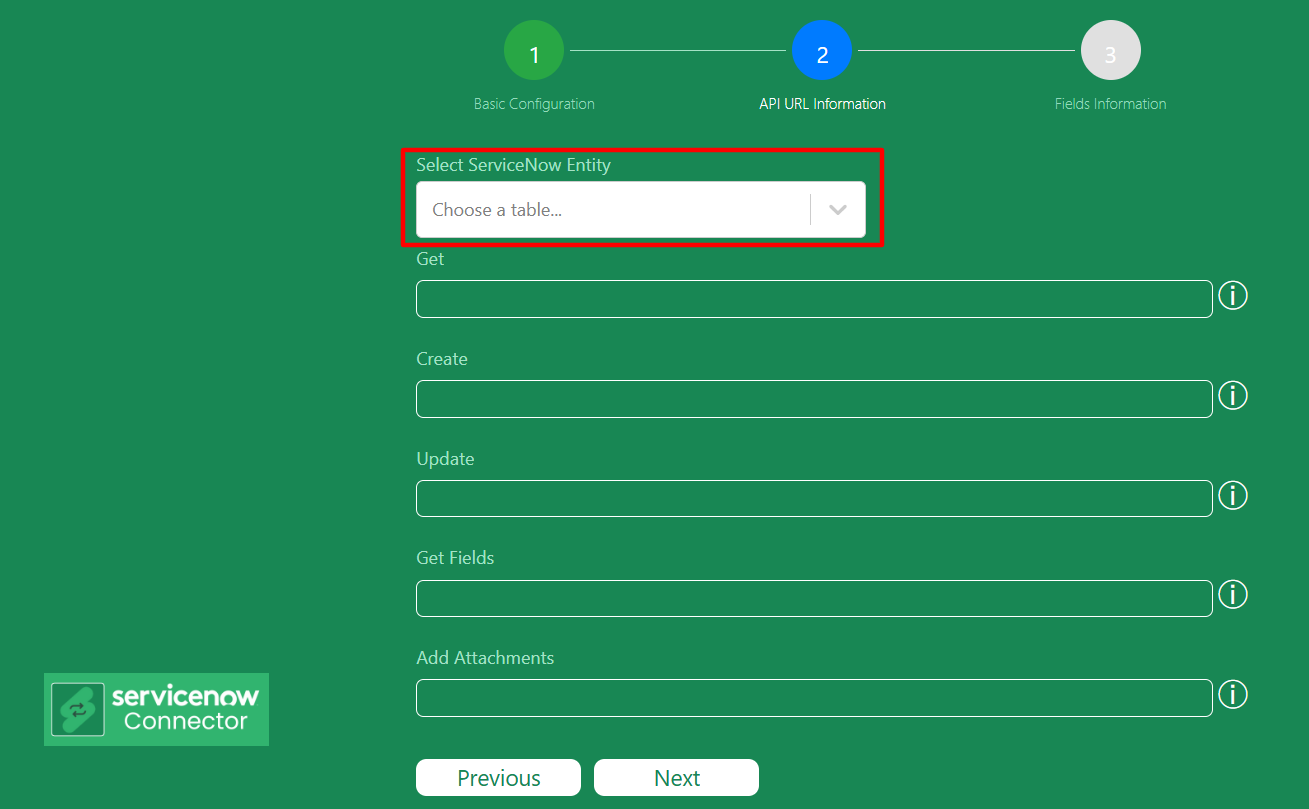
Select ServiceNow Entity from the dropdown.
Choose Entity based on the work item you want to sync.
-
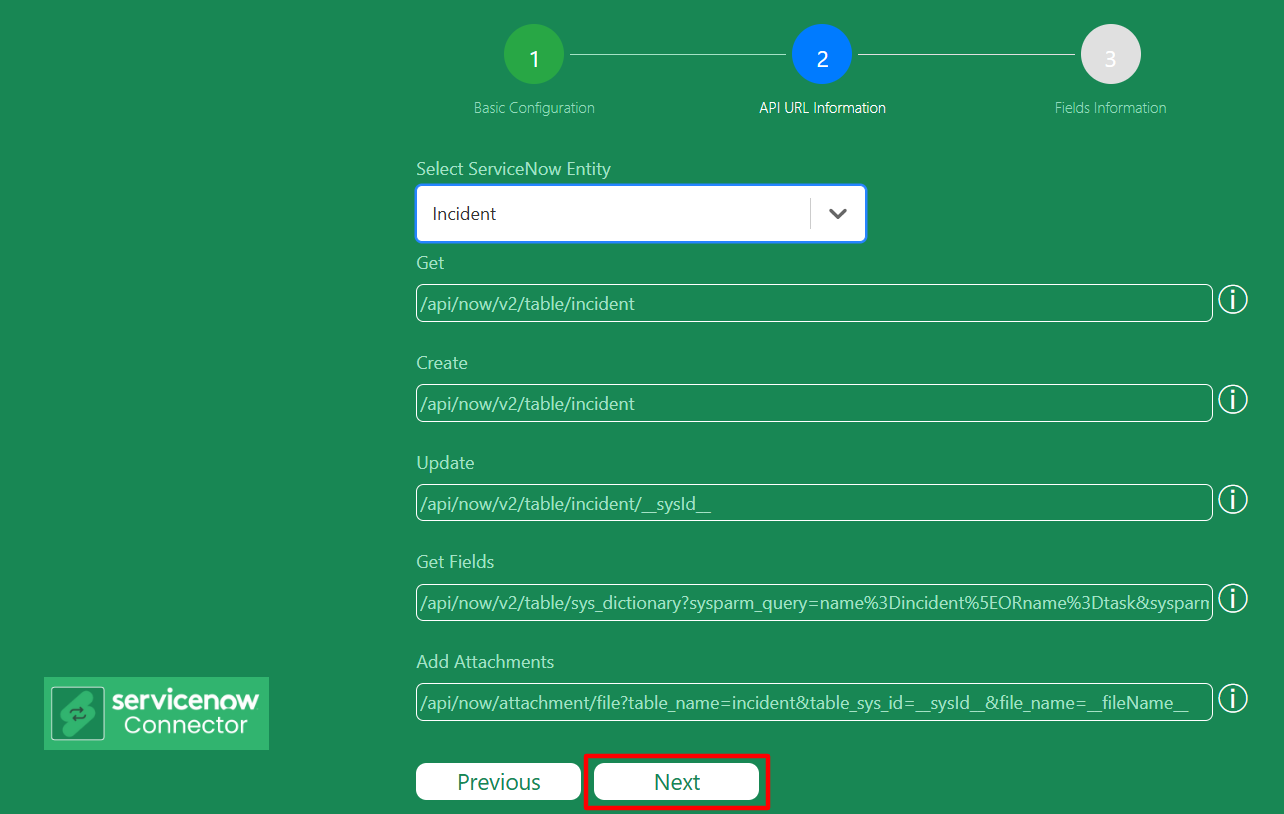
Click on Next.
-
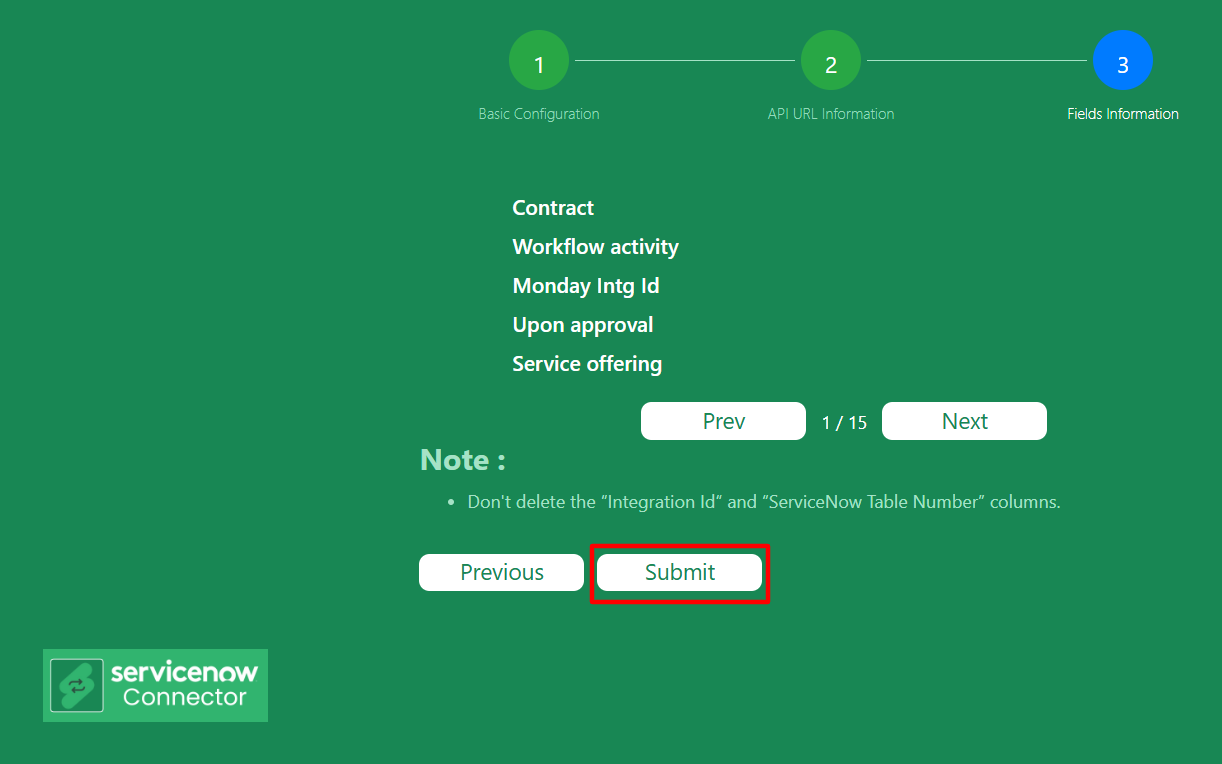
Then, click on Submit.
Step 5: Select and configure the five recipes below.
Recipe 1: Item Creation
This is the primary recipe that triggers an automation to create the item from monday.com to ServiceNow.
-
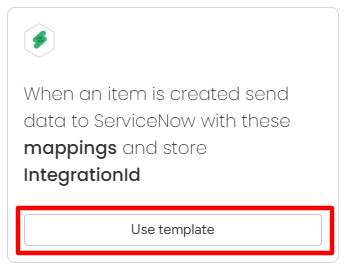
Select the recipe below and click on Use template.
-
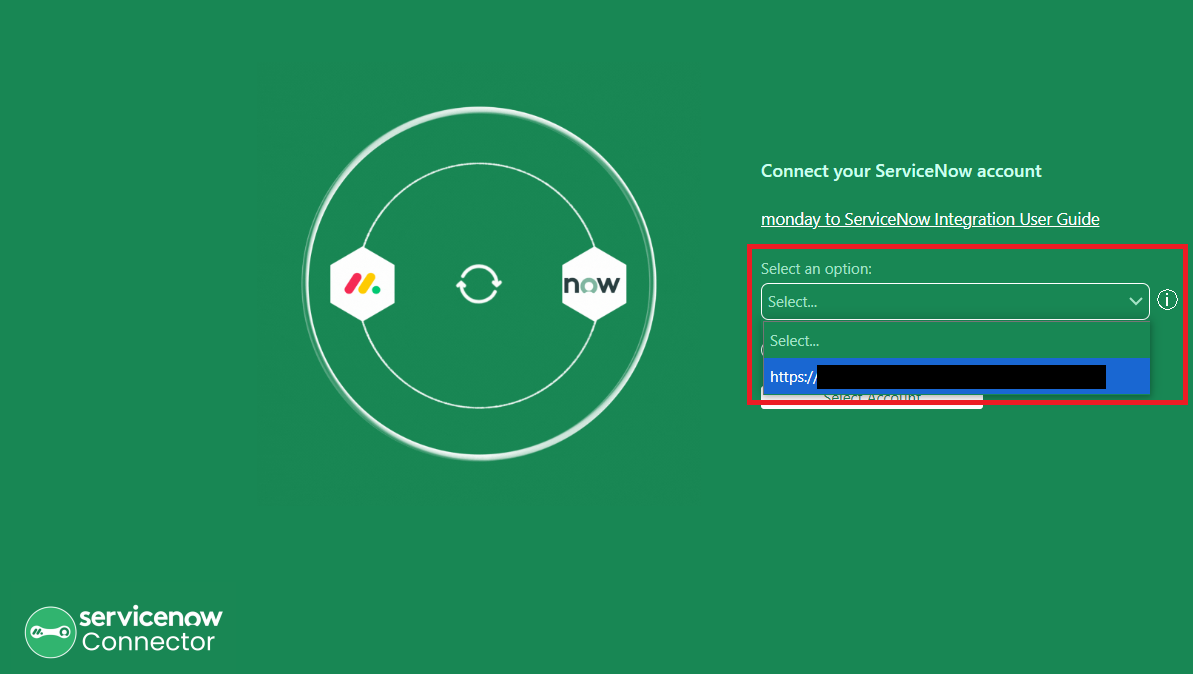
Click on Select an option dropdown and select your ServiceNow account. Click on Select account.
3. Next, click on Mappings.
.png?cb=989d82fecf4be9a56525433cf22c04ee)
-
The mapping window will appear. Map the required fields and click on Done.
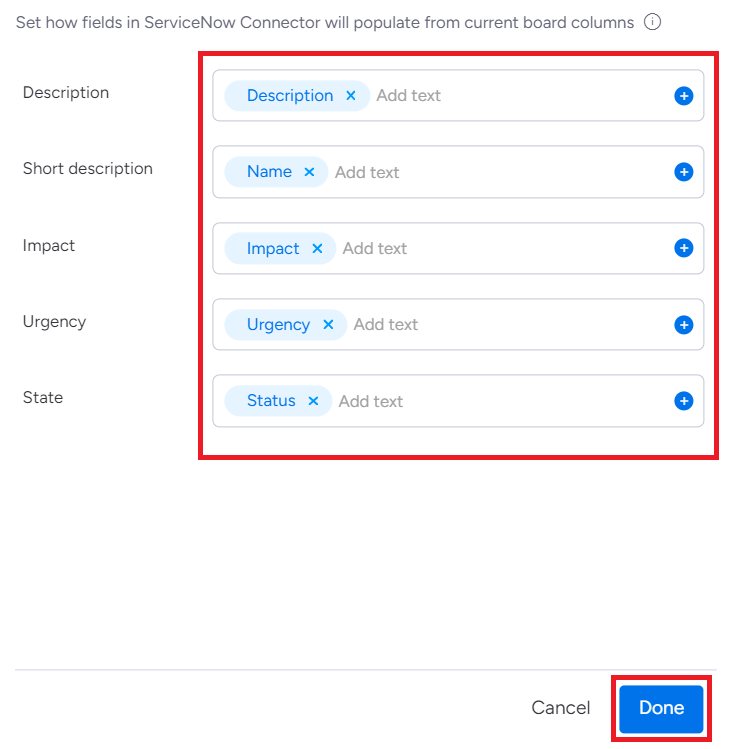
|
ServiceNow fields |
monday board columns |
|---|---|
|
Description |
Description |
|
Short description |
Name |
|
Impact |
Impact |
|
Urgency |
Urgency |
|
State |
Status |
|
Custom Field |
Custom Field |
-
Click on Create automation.
Recipe 2: File Upload/Update (Optional recipe)
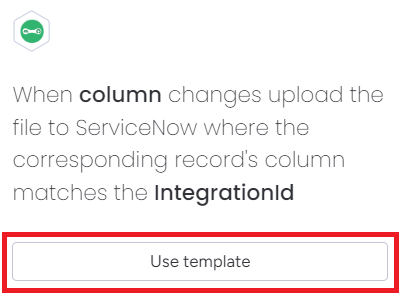
This recipe is required when the file is uploaded or updated from monday.com to upload/update the same on ServiceNow.
-
Select the recipe below and click on Use template.
-
Click on Select an option dropdown and select your ServiceNow account. Click on Select account.
The mapping window will appear.
-
Map the column field with the Files and IntegrationId field with Integration Id.
.png?cb=5c327c031e6319716263bb1c98de0998)
-
Click on Create automation.
Recipe 3: Item Name Change
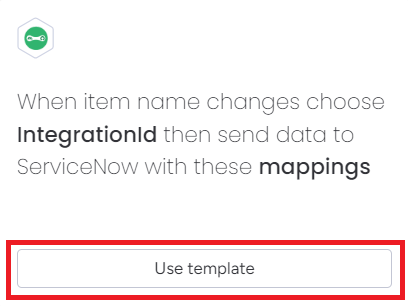
This recipe is used to change the item name from monday.com to ServiceNow.
-
Select the recipe below and click on Use template.
-
Click on Select an option dropdown and select your ServiceNow account. Click on Select account.
The mapping window will appear.
-
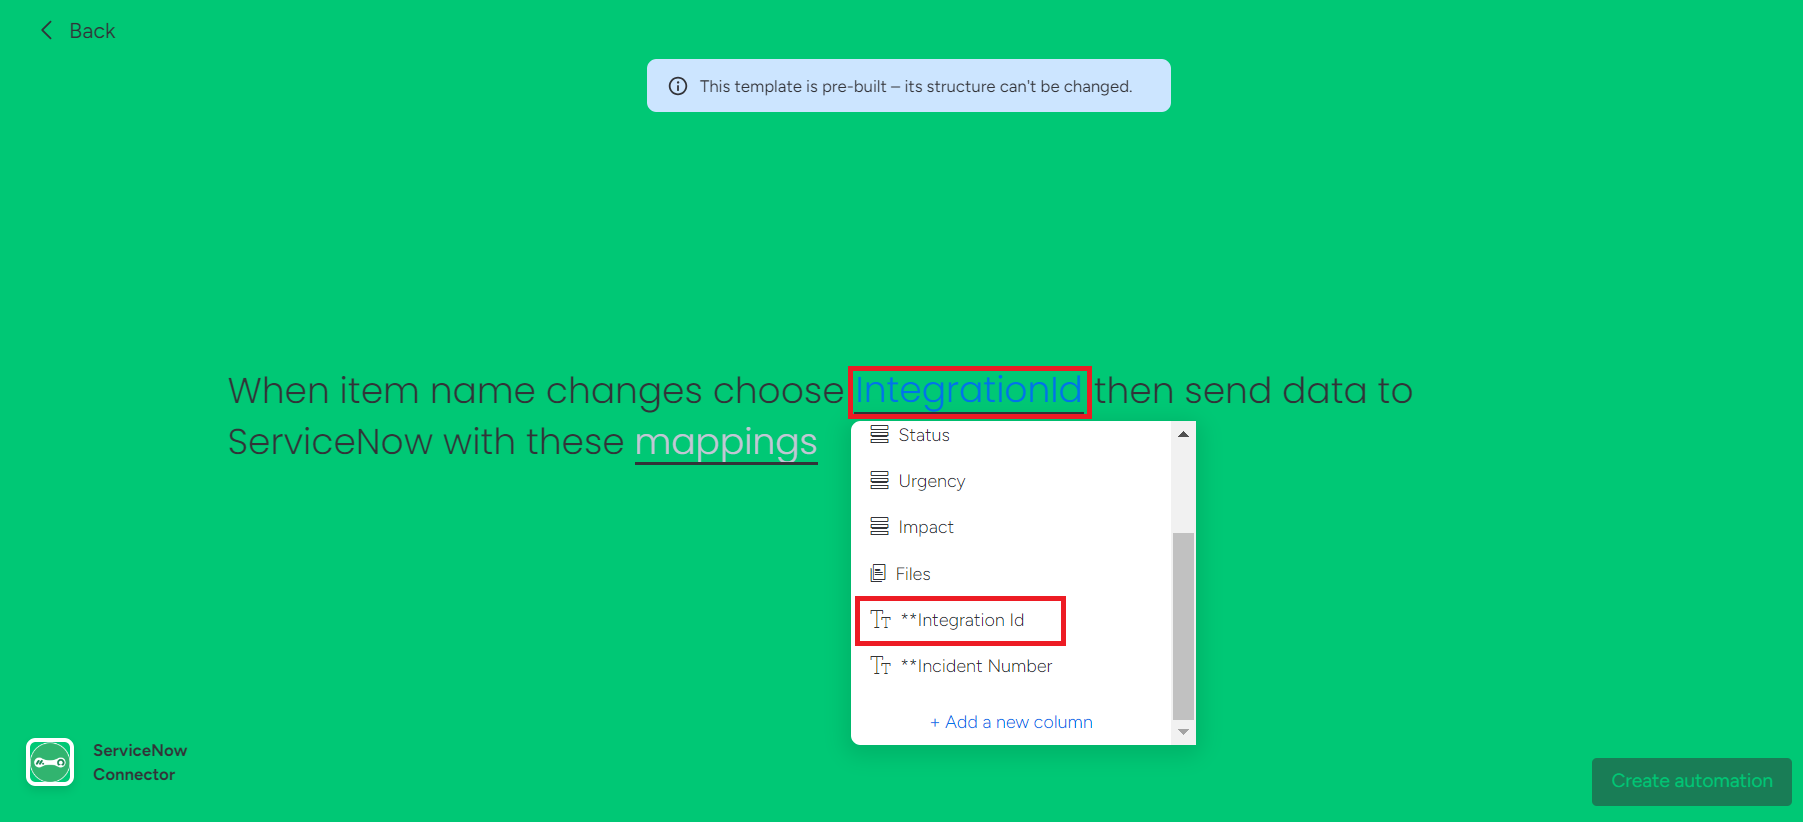
Click on the IntegrationId field and select Integration Id.
-
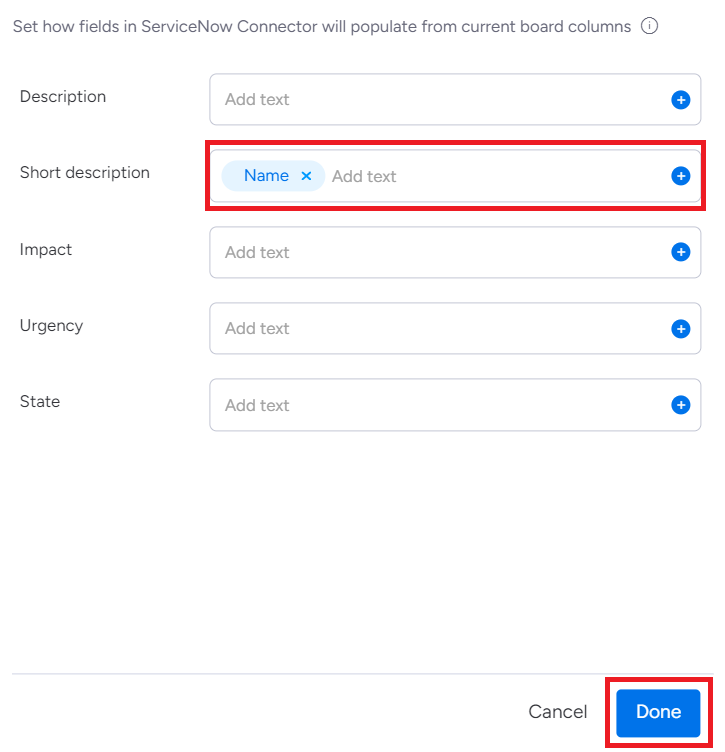
Click on mappings and map the short description field with the name field. Click on Done.
-
Click on Create automation.
Recipe 4: Item Update
When a column is changed on monday.com, this recipe triggers an automation to update the corresponding fields on ServiceNow.
-
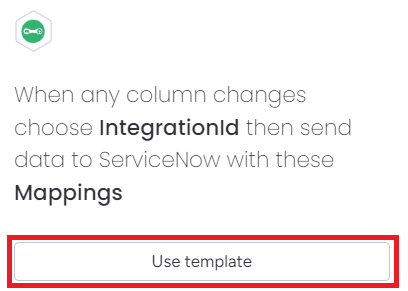
Select the recipe below and click on Use template.
-
Click on Select an option dropdown and select your ServiceNow account. Click on Select account.
The mapping window will appear.
-
Click on the IntegrationId field and select Integration Id.
-
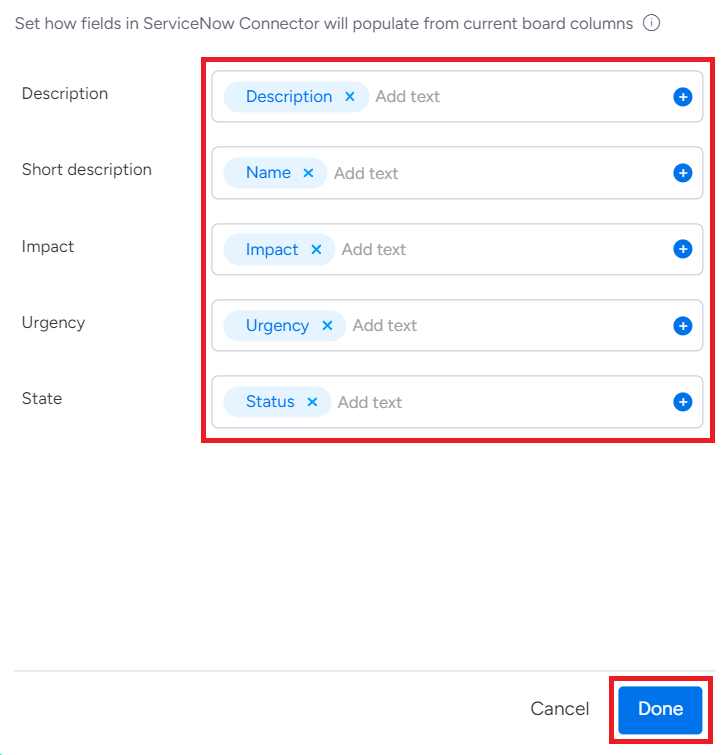
Click on mappings and map the required fields. Then, click on Done.
|
ServiceNow fields |
monday board columns |
|---|---|
|
Description |
Description |
|
Short description |
Name |
|
Impact |
Impact |
|
Urgency |
Urgency |
|
State |
Status |
|
Custom Field |
Custom Field |
-
Click on Create automation.
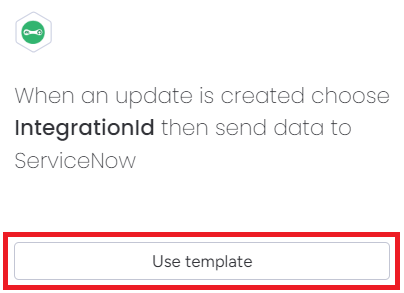
Recipe 5: Sync Comments (Optional recipe)
This recipe triggers an automation when an update is created on monday.com to sync the comments on ServiceNow.
-
Select the recipe below and click on Use template.
-
Click on Select an option dropdown and select your ServiceNow account. Click on Select account.
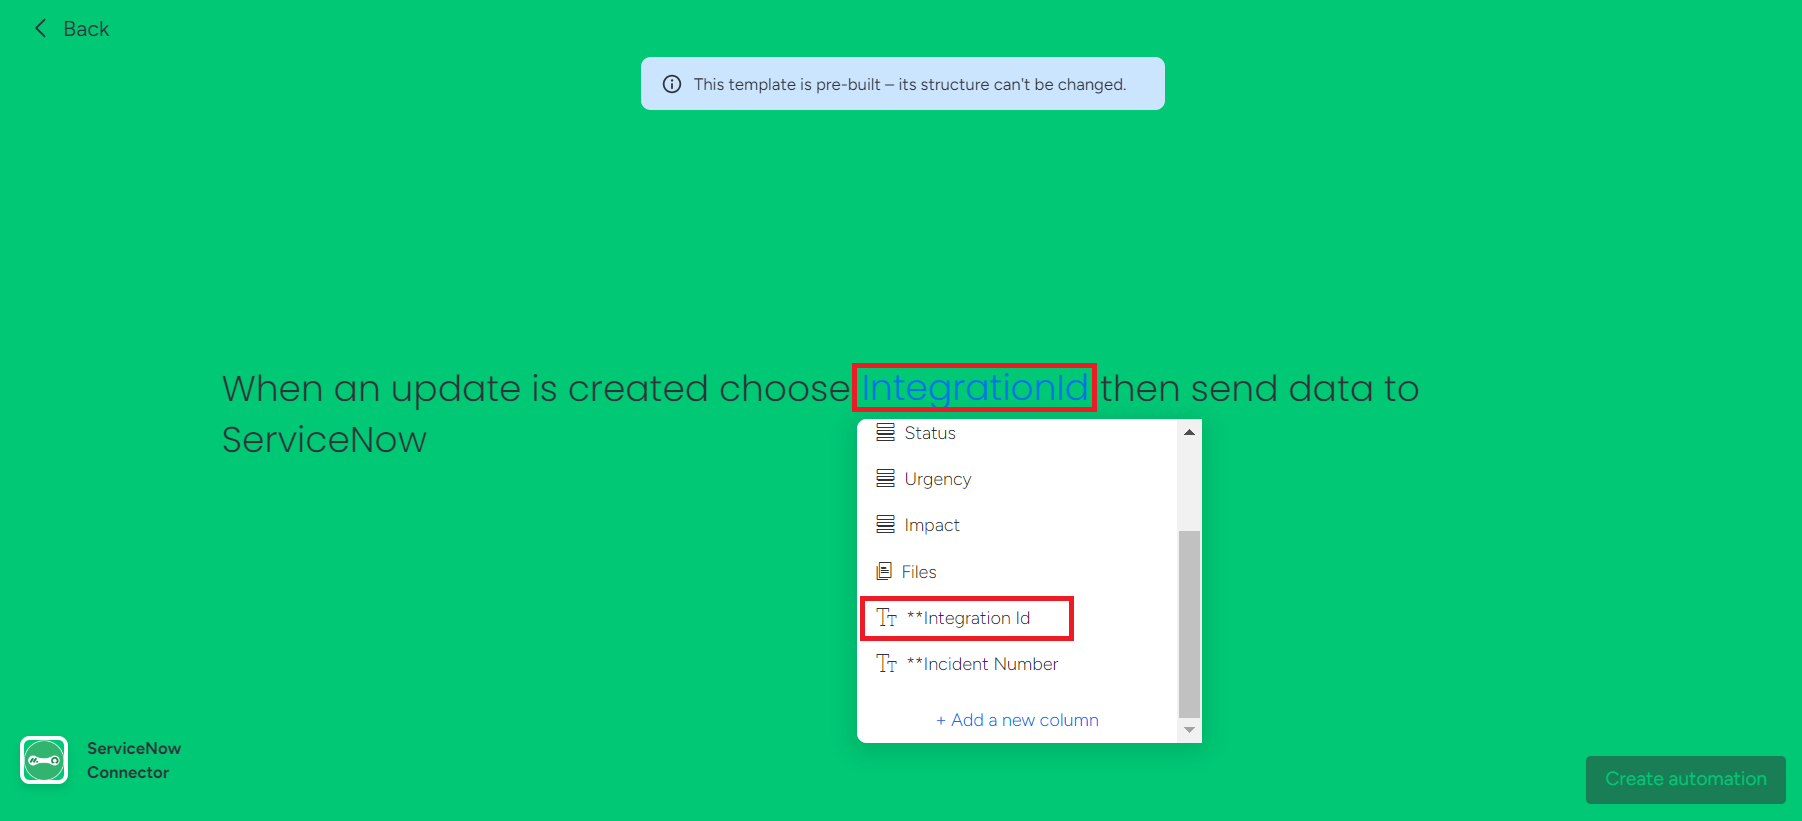
The mapping window will appear.
-
Click on the IntegrationId field and select Integration Id.
-
Click on Create automation.
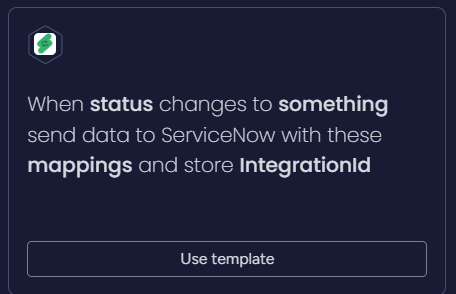
Recipe 6: Conditional Sync (Optional recipe)
Use this recipe to set conditions for syncing work items. For example, if you only want to sync work items after their status changes to Working on it, you can configure that condition here.
-
Select the recipe below and click on Use template.
-
Click on Select an option dropdown and select your ServiceNow account. Click on Select account.
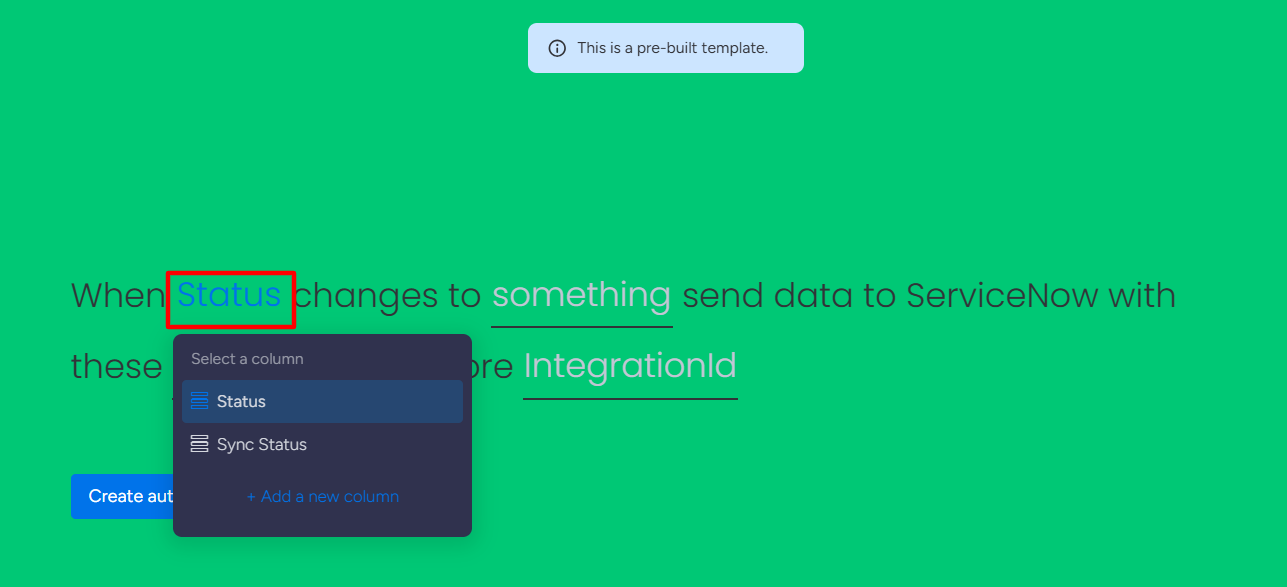
The mapping window will appear.
-
Select the required status column in the Status field.
-
Select the status value in the something field.
-
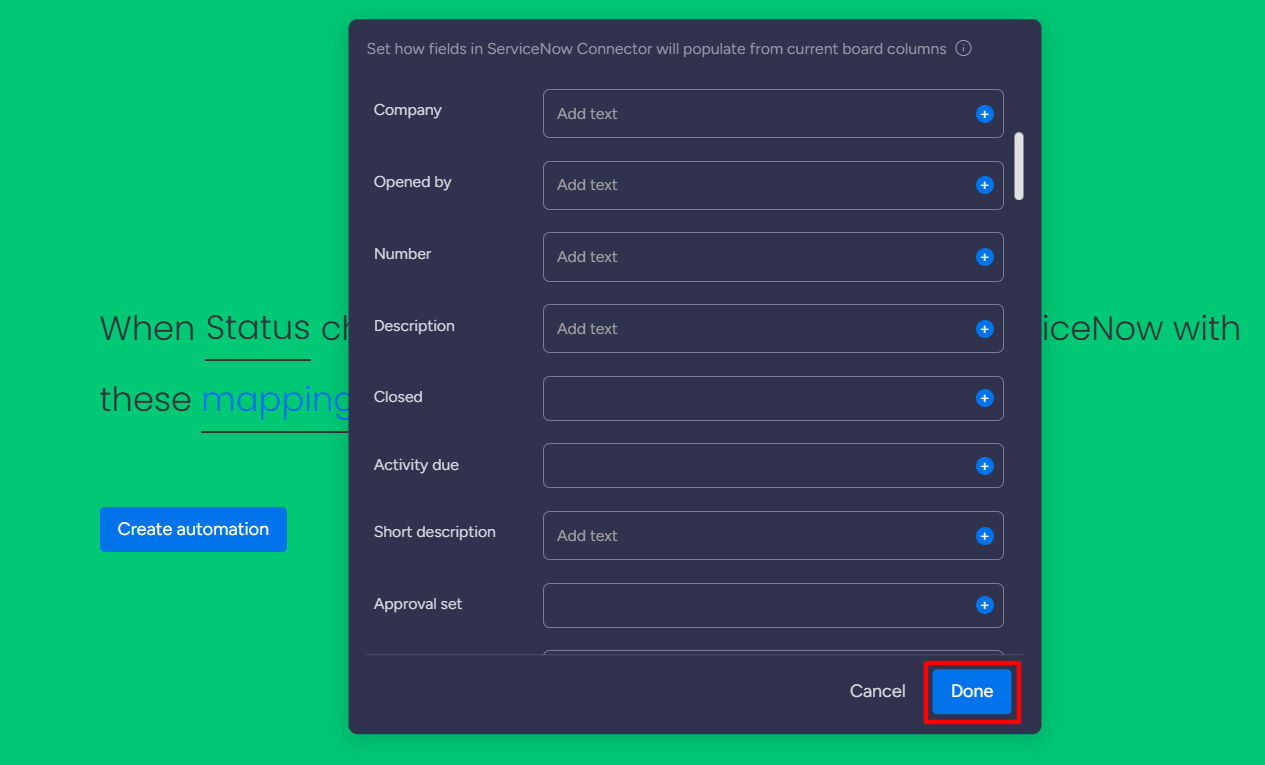
Next, map the required fields to sync and click on Done.
-
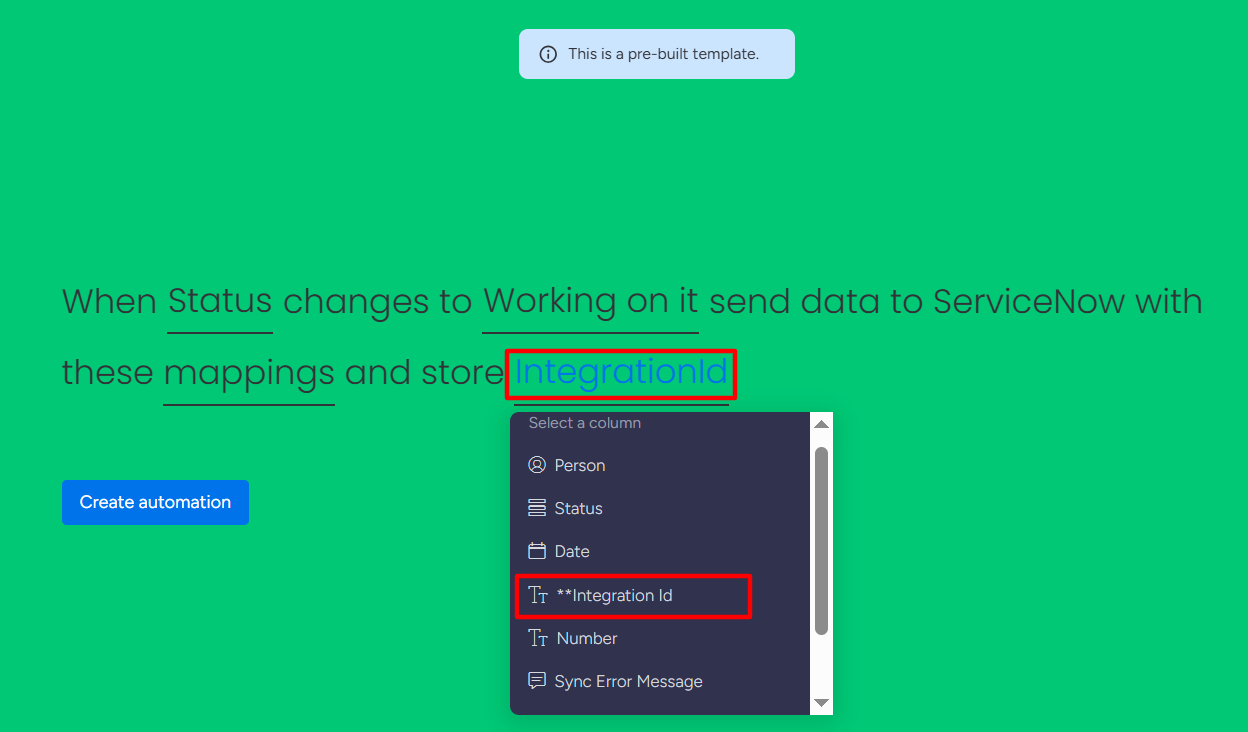
Click on the IntegrationId field and select Integration Id.
-
Click on Create automation.
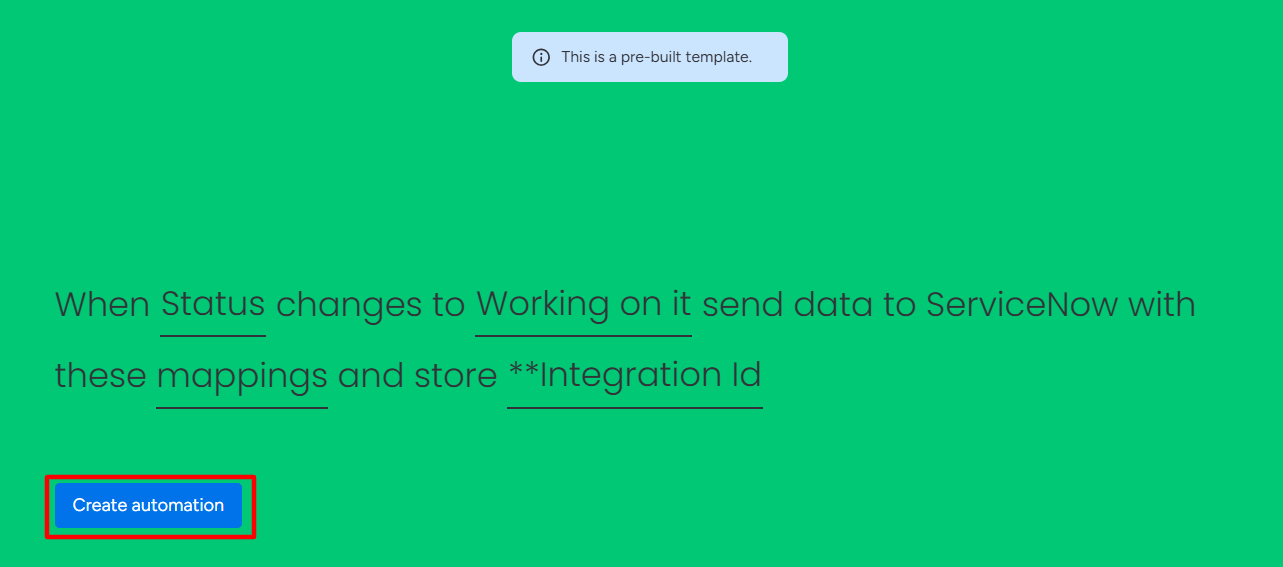
Once all the recipes are configured, your monday.com board will automatically stay in sync with ServiceNow.